Private hardened VPN: VLESS/HYSTERIA2 + PiHole Set Up (upd. 2026)
Intro
VPNs were originally built to securely extend private networks across untrusted infrastructure, letting remote users or separate local networks communicate as if they were on the same internal network.
Today, the same tunneling model is also commonly used as a privacy layer for routing personal internet traffic more discreetly.
Comparing to the regular proxy, which just relays application traffic, a VPN is meant to securely extend a network boundary.
That matters because the original motivation behind VPNs was not “hide my IP,” but: “Make a remote device behave like it is securely attached to a private network.”
In this post, I’ll explain one of the simplest ways to set up a modern anti-sniffing VPN solution for personal use.
I’ll be focusing on running the server part on a RaspberryPi, but this guide would stay the same in case of the VM on a VPC of your choice.
Hardware
Raspberry PI looks like a good option, since it’s a powerful mini-computer with all needed interfaces for the fair price.
The best option is to order it from Chinese marketplaces such as AliExpress. I used the Raspberry Pi 4B with 8 GB of RAM as an example, but you can choose a simpler model without Ethernet or USB-A and with 2 GB of RAM — it should serve the needs of dozens of users just fine.
I suggest to buy a complete set with the housing and a power unit, like this one.
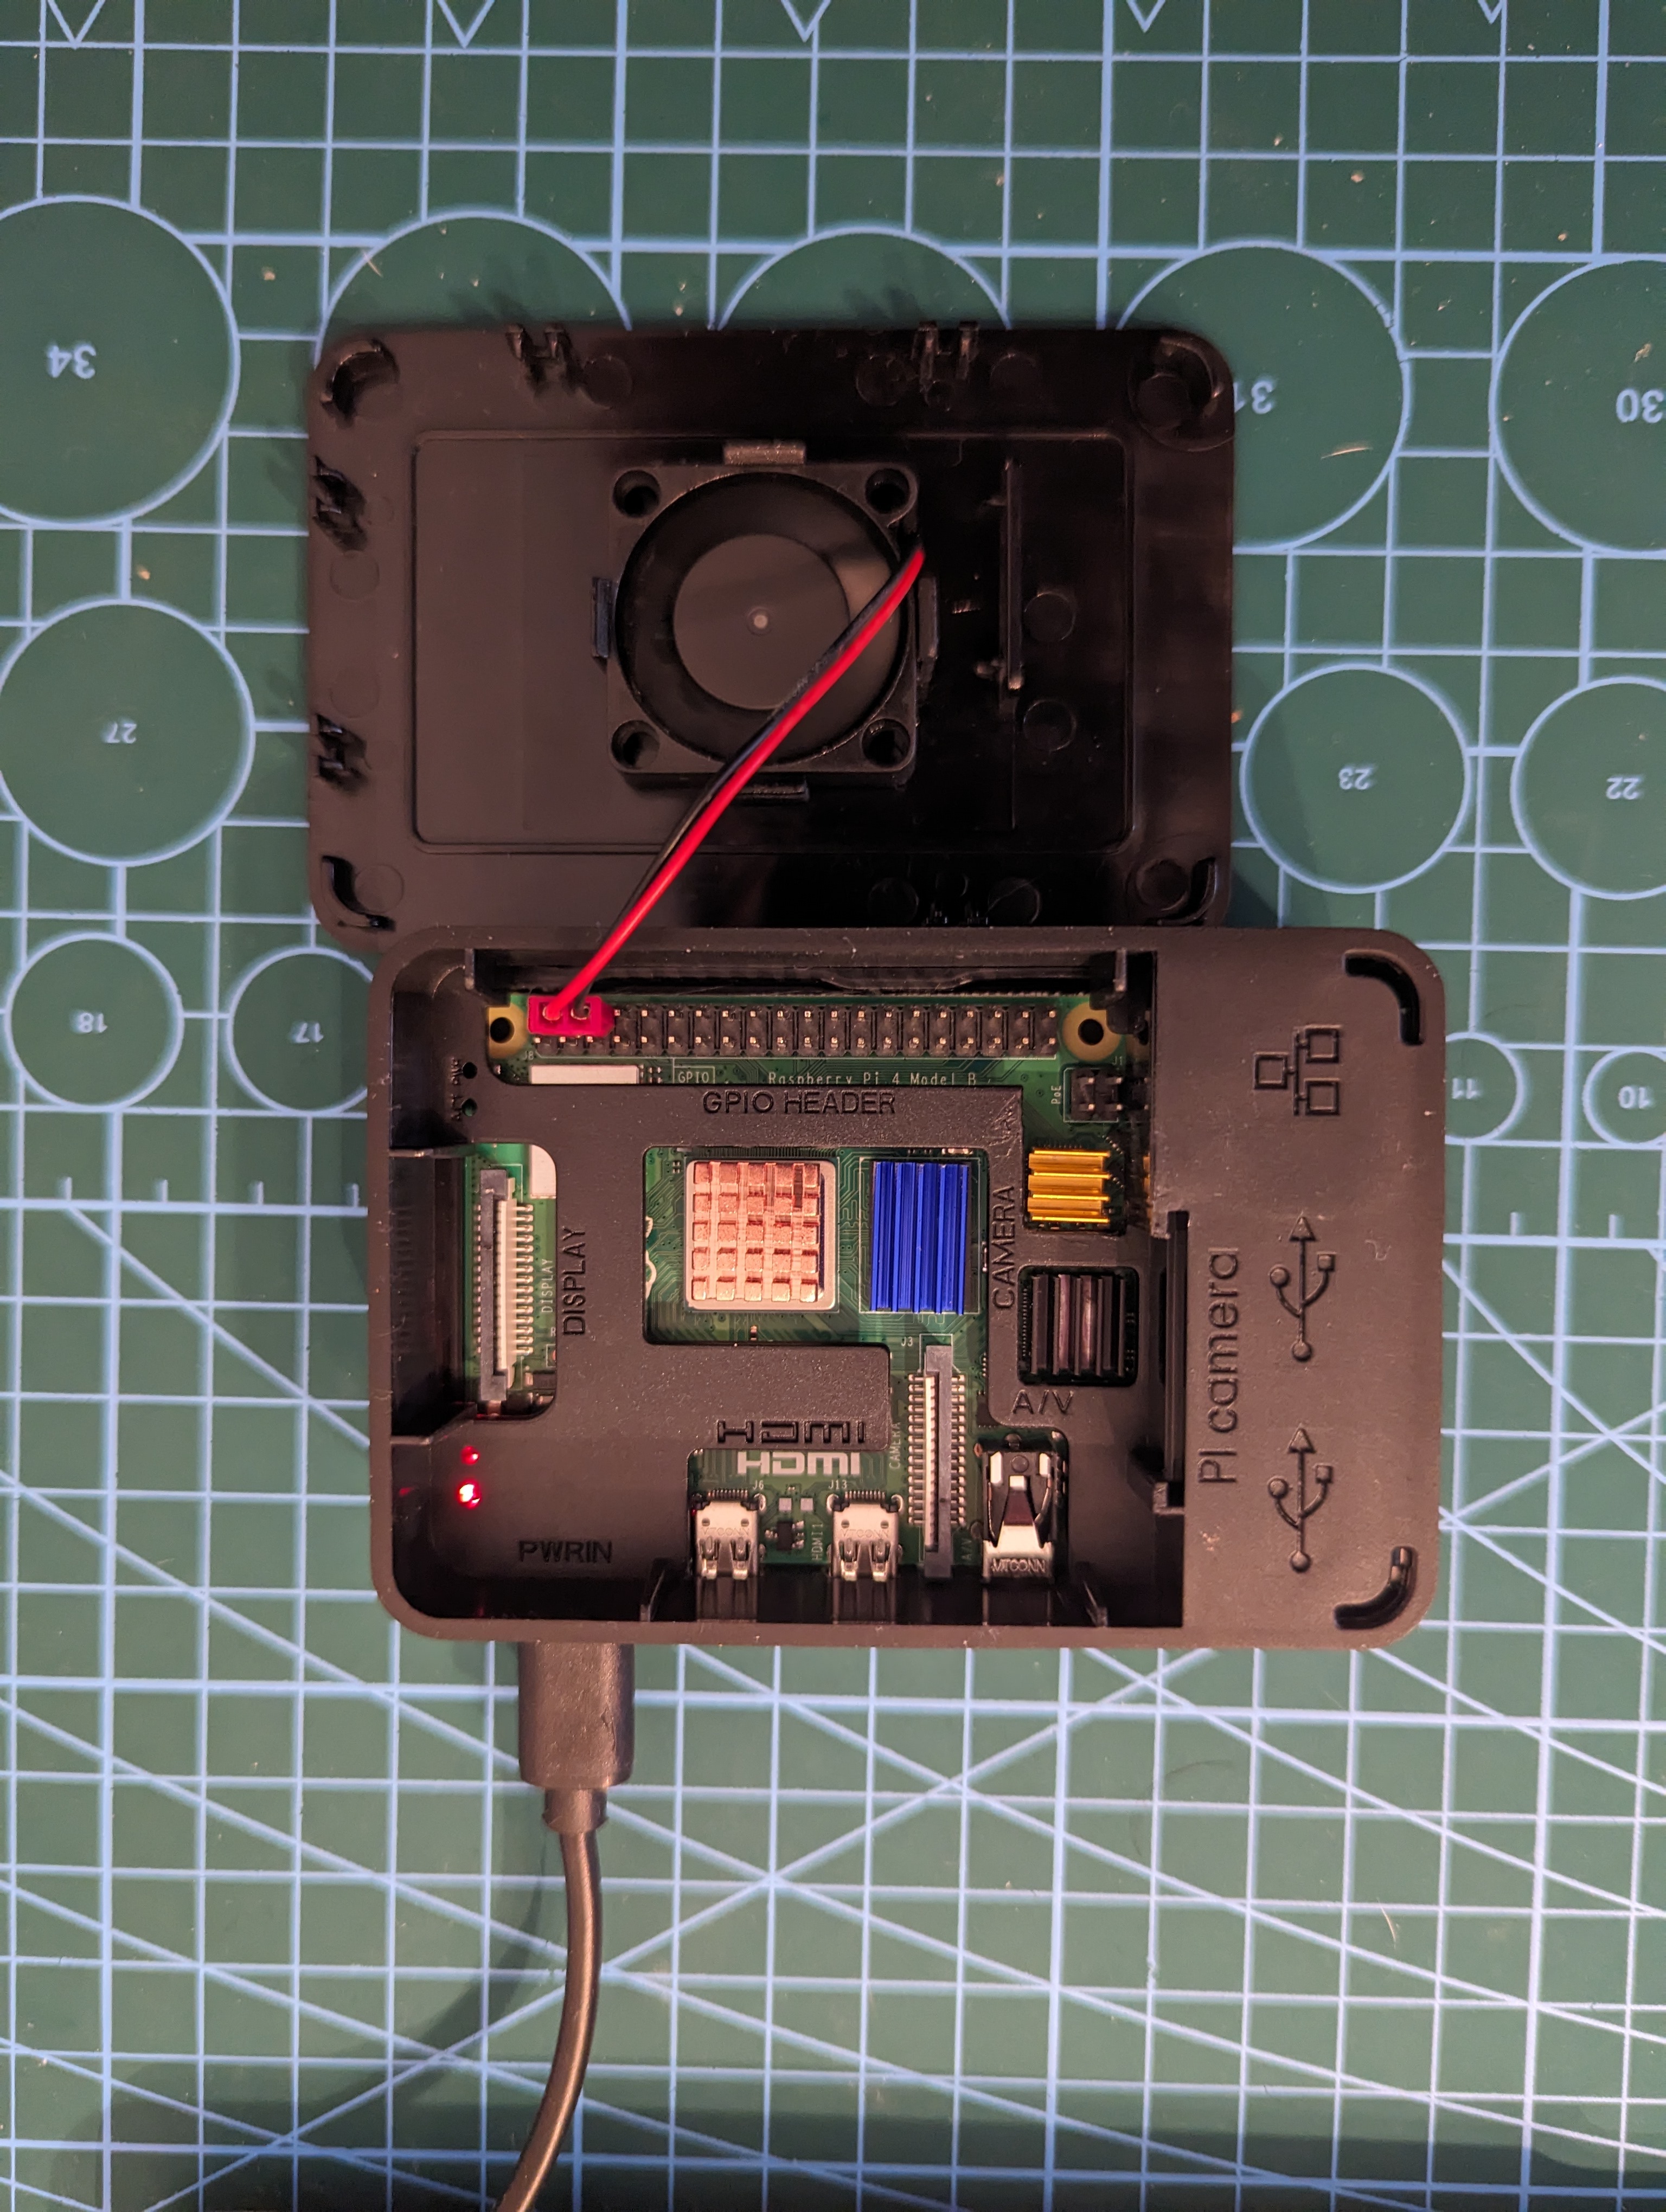
The best choice will be to install there Ubuntu Server with Raspberry PI Imager. Don’t forget to add your ssh key during configuration, and connect Pi to the router via Ethernet.
Software
The problem is that nowadays it’s pretty easy to sniff the traffic with dpi, detect packets of the popular VPN protocols and drop them.
The general solution is to built a proxy based on protocol like Shadowsocks, which is designed to be hard to detect, bypass firewalls and have traffic encryption.
In contrast with more “traditional” VPN solutions like OpenVPN or WireGuard, where encription is applied on the IP level, modern VPNs modify traffic on the application level, making it harder to detect it.
As of 2026, there are two prominent ones: Vless and Hysteria(2), trully opensource, with significant number of maintainers.
In particullar, VLESS+REALITY is a stealth-focused setup: VLESS provides the lightweight proxy layer, while REALITY disguises it as legitimate TLS traffic without requiring a real certificate.
Hysteria2 is a QUIC-based proxy designed for speed and resilience, with strong performance on high-latency, lossy, or unstable networks.
Vless through XRay
Let’s set up VLESS + REALITY transport with XTLS Vision on top of Xray-core.
What all that about:
- VLESS — a lightweight, stateless proxy protocol.
- REALITY — a transport layer for making traffic look like normal TLS/web traffic from the outside.
- XTLS Vision — the flow/control mode used with Xray to improve efficiency and performance.
That all is the part of Xray, a project that extends and enhances the capabilities of V2Ray. V2Ray can be compared with Shadowsocks protocol and can be called it’s successor (after the original Shadowsocks has been removed from the internet), rather than higher-level vpn/proxy solutions like Outline.
Xray supports VLESS, while V2Ray does not natively include it, making Xray the appropriate choice for this setup.
So, let’s configure XRay server and client.
Server (Ubuntu)
Install XRay:
bash -c "$(curl -L https://github.com/XTLS/Xray-install/raw/main/install-release.sh)"
Then, create a REALITY public/private key pair (X25519), generate it ONCE per inbound (server):
xray x25519
Generated key pair used by REALITY for the server/client cryptographic handshake.
Then generate a short uuid for that server:
openssl rand -hex 8
And finally - create the first client ID with xray uuid.
You should do it for every new client, and update the server config with the new client entry (see example below).
Create a config file at /usr/local/etc/xray/config.json:
{
  "inbounds": [
    {
      "listen": "0.0.0.0",
      "port": 4443,
      "protocol": "vless",
      "settings": {
        "clients": [
          {
            "id": "<USER_UUID>",
            "level": 0,
            "flow": "xtls-rprx-vision"
          }
        ],
        "decryption": "none"
      },
      "streamSettings": {
        "network": "tcp",
        "security": "reality",
        "realitySettings": {
          "show": false,
          //... or any other public, highly-available service
          // which is reachable from the server
          "dest": "www.cloudflare.com:443",
          "xver": 0,
          "serverNames": ["www.cloudflare.com"],
          "privateKey": "<PRIVATE_KEY>",
          "shortIds": [
            "<SHORT_ID>"
          ]
        }
      },
      "sniffing": {
        "enabled": true,
        "destOverride": ["http", "tls", "quic"]
      }
    }
  ],
  "outbounds": [
    {
      "protocol": "freedom",
      "settings": {}
    }
  ]
}
Pay attention, that we’re using here www.cloudflare.com for masquerading, which should be allowed in the area where client operates. Free to choose your own.
Also, by masquerading here meant that the specified “target” websites SNIs will be use for tls handshake, which could be crucial for fooling packet inspection software.
Test that config is correct:
xray run -test -config /usr/local/etc/xray/config.json
Start the service: sudo systemctl start xray
Enable it to start on boot: sudo systemctl enable xray
Check the status: sudo systemctl status xray
Or check logs: journalctl -u xray
Don’t forget to setup port forwarding on your router for the specified port (e.g. 4443).
Ensure your firewall allows traffic on a selected port using ufw (allow 4443).
Clients
Mobile / Mac OS
Install V2BOX from the store.
The simplest way to configure would be just to construct a link and paste into the app:
vless://<UUID>@<SERVER_IPV4>:<PORT>?type=tcp&encryption=none&security=reality&flow=xtls-rprx-vision&sni=www.cloudflare.com&fp=chrome&pbk=<PUBLIC_KEY/PASSWORD>&sid=<SHORT_ID>#<CONNECTION_NAME>
Linux (Ubuntu)
Install the same xray executable the same way you did for the server:
bash -c "$(curl -L https://github.com/XTLS/Xray-install/raw/main/install-release.sh)"
Add generated ids and keys to the /usr/local/etc/xray/config.json:
{
  "log": { "loglevel": "warning" },

  "inbounds": [
    {
      "listen": "127.0.0.1",
      "port": 1081,
      "protocol": "socks",
      "settings": { "udp": true }
    }
  ],

  "outbounds": [
    {
      "protocol": "vless",
      "settings": {
        "vnext": [
          {
            "address": "<SERVER_IPV4>",
            "port": 4443,
            "users": [
              {
                "id": "<UUID>",
                "encryption": "none",
                "flow": "xtls-rprx-vision"
              }
            ]
          }
        ]
      },
      "streamSettings": {
        "network": "tcp",
        "security": "reality",
        "realitySettings": {
          "serverName": "www.cloudflare.com",
          "publicKey": "<REALITY_PUBLIC_KEY/PASSWORD>",
          "shortId": "<SHORT_ID>",
          "fingerprint": "chrome"
        }
      }
    }
  ]
}
NOTE: With that config, you only tunnel the traffic that you explicitly send into Xray’s local proxy ports.
Then enable and reload the daemon:
sudo systemctl enable xray
sudo systemctl start xray
sudo systemctl status xray
If everything is green — great, it means our proxy has started up on 127.0.0.1:1081. Next, go check the IP using any public service:
curl --socks5-hostname 127.0.0.1:1081 -4 -s --max-time 5 https://api.ipify.org
Or via http proxy env var:
HTTP_PROXY=http://127.0.0.1:1081 HTTPS_PROXY=http://127.0.0.1:1081 curl -s https://api.ipify.org
The IPv4 address should match the server ip.
In the example above, traffic is routed through Xray either by explicit SOCKS arguments (for example, –socks5-hostname) or by proxy environment variables. For SOCKS-based routing, use ALL_PROXY=socks5h://127.0.0.1:1081. For HTTP-aware clients, use HTTP_PROXY/HTTPS_PROXY (or lowercase http_proxy/https_proxy).
Hysteria2
Now, move to Hysteria2.
What is that about:
- Hysteria2 — a modern proxy protocol built on top of QUIC, designed for speed, efficiency, and censorship resistance.
- QUIC — a UDP-based transport protocol that improves connection performance, especially on lossy or unstable networks.
- HTTP/3 masquerading — by default, Hysteria2 mimics normal HTTP/3 traffic, which helps it blend in on the network. BUT, comparing to VLESS+REALITY, here, the spcified masquerading in the config is just a placeholder website, which can cover the VPN server during http probing. And SNI of the vpn itself domain will be used then during communication with the client.
Unlike the VLESS + REALITY + XTLS Vision stack, Hysteria2 is a self-contained protocol rather than a combination of separate layers.
It does not rely on Xray-core or V2Ray; instead, it has its own server and client implementation.
Its main focus is transport performance and resilience, particularly on high-latency or packet-loss-heavy connections.
So, let’s configure the Hysteria2 server and client.
Server (Ubuntu)
Install server script:
bash <(curl -fsSL https://get.hy2.sh/)
It will also create hysteria group and user.
In case you DON’T have a registered domain - generate self-signed ones (otherwise - go direcly to the server config file):
sudo apt update
sudo apt install easy-rsa -y

mkdir ~/easy-rsa
ln -s /usr/share/easy-rsa/* ~/easy-rsa/
sudo chown gas ~/easy-rsa
chmod 700 ~/easy-rsa

cd ~/easy-rsa
vi vars

set_var EASYRSA_ALGO "ec"
set_var EASYRSA_DIGEST "sha512"

./easyrsa init-pki
./easyrsa build-ca nopass

./easyrsa gen-req server nopass
./easyrsa sign-req server server
Copy cert and a key into the Hysteria folder:
sudo cp /home/gas/easy-rsa/pki/issued/server.crt /home/gas/easy-rsa/pki/private/server.key /etc/hysteria
Set permission to only allow root and hysteria users to interact with the keys:
# directory: accessible to root and hysteria group
sudo chown root:hysteria /etc/hysteria
sudo chmod 750 /etc/hysteria

# config: owned by root, readable by hysteria
sudo chown root:hysteria /etc/hysteria/config.yaml
sudo chmod 640 /etc/hysteria/config.yaml

# cert: readable by hysteria
sudo chown root:hysteria /etc/hysteria/server.crt
sudo chmod 640 /etc/hysteria/server.crt

# key: readable by hysteria, not world-readable
sudo chown root:hysteria /etc/hysteria/server.key
sudo chmod 640 /etc/hysteria/server.key
Use this generated cert to create pinSHA256 hash:
openssl x509 -noout -fingerprint -sha256 -in /etc/hysteria/server.crt
Save that hex-string, it would be needed for Client setup.
Allow 5443 port:
sudo ufw allow 5443
Generate a password:
sudo apt install pwgen
pwgen -s -y 20 1
Encode raw password:
python3 -c 'import urllib.parse,sys; print(urllib.parse.quote(sys.argv[1], safe=""))' '<PASSWORD>'
Save that url-encoded password, it would be needed for Client setup. The raw one - goes into the server config.
Finally, define server config at /etc/hysteria/config.yaml:
listen: :5443

tls:
  cert: /etc/hysteria/server.crt
  key: /etc/hysteria/server.key

auth:
  type: userpass
  userpass:
    <USER>: <PASSWORD>

masquerade:
  type: proxy
  proxy:
    url: https://news.ycombinator.com/
    rewriteHost: true
Or in case of existing domain:
listen: :5443

acme:
  domains:
    - vpn.example.com
  email: you@example.com

auth:
  type: userpass
  userpass:
    <USER>: <PASSWORD>

masquerade:
  type: proxy
  proxy:
    url: https://news.ycombinator.com/
    rewriteHost: true
Finally, run server app:
sudo systemctl start hysteria-server.service
sudo systemctl status hysteria-server.service
sudo systemctl enable --now hysteria-server.service
Check logs in case of troubles:
journalctl --no-pager -e -u hysteria-server.service
Client Setup
The easiest way - is to share an URI with all needed configurations.
In case you have a domain, it would be easy:
hy2://<USER>:<URL_ENCODED_PASSWORD>@vpn.example.com:5443/?sni=vpn.example.com
Otherwise:
hy2://<USER>:<URL_ENCODED_PASSWORD>@<YOUR_SERVER_IPV4>:5443/?sni=<CERT_SNI>&insecure=1&pinSHA256=<CERT_SHA256>
The most convinient option for the client app I found - Hiddify. It’s available on Play Store and App Store.
You just choose an option to paste the URI from the buffer and you’re good to go.
Important note for Mac OS: get the app for ipads from the App Store. Hiddify desktop app build are unstable atm (on March. 2026).
PiHole
As a final touch - we can also install a PiHole on VPN server machine, to also filter ads.
The general idea there is to set the local PiHole app as a DNS endpoint, which acts as a DNS sinkhole for domains associated with ads, and bypasses the rest to the real public DNS.
Since all the VPN traffic anyway will go through that server, it automatically will be filtered by locally running PiHole.
Installation
Following the official site, the easiest way to install is:
curl -sSL https://install.pi-hole.net | sudo bash
On some systems the only way to run it - with sudo.
The installation wizard should appear. It’s safe to accept defaults there, and set Cloudfare as a DNS resolver.
In the end, you should save the admin password which will appear.
Then, PiHole admin panel to appear, we need to allow 80 in firewall:
sudo ufw allow 80
It will be available at http://<PI_IPV4>:80/admin.
And also add the current user to the pihole group to ease the cli auth:
sudo usermod -aG pihole $USER
Local DNS Set Up
If your OS uses dhcpcd for network configuration, you can add to your /etc/dhcpcd.conf:
static domain_name_servers=127.0.0.1
Otherwise - it requires a couple more steps to complete.
First, check the resolv.conf:
cat /etc/resolv.conf
If it doesn’t show the nameserver 127.0.0.1, we need to continue the setup.
First, check the connect name in a network manager:
nmcli connection show
“Wired connection 1” at my case.
Then, set the DNS endpoint to be localhost:
sudo nmcli connection modify "Wired connection 1" ipv4.dns "127.0.0.1"
Disable automatic DNS from DHCP:
sudo nmcli connection modify " ipv4.ignore-auto-dns yes
Then, reset the box or, if you’re running desktop, reload the connection:
sudo nmcli connection down "Wired connection 1"
sudo nmcli connection up "Wired connection 1"
Recheck cat /etc/resolv.conf.
Test it, by running:
dig google.com
You should see:
SERVER: 127.0.0.1#53
This means: OS –> Pi-hole –> upstream DNS
Then, we need to allow all network interfaces to use PiHole (so any VPN connection could go through there).
Go to PiHole admin panel –> settings –> allow the “expert” setting –> DNS listening mode –> allow “ALL”.
And, finally, I suggest to change ratelimiter for PiHole to a higher spikes values. You can do it through the admin panel, by setting rate limit timeout to 60 sec. and increasing max value for some large number, like 50000. Otherwise, this could block the internet access enterily for some time, since there would be not a lot of clients served, and it would be high rps on VPN server and local interfaces.
It should be all setup correctly from now on!
Double check the actual ads blocking from your desktop, connected to the VPN, with smth like https://canyoublockit.com/.
Enjoy!